No Products in the Cart


Last year we got a request from an elementary school to come speak to a class of 4th graders. They were designing a dream playground and learning about perimeter, area, geometry, and budgeting along the way. They wanted someone from our design team to come and talk about the importance of math when designing a playground. I thought that was a really really cool idea!
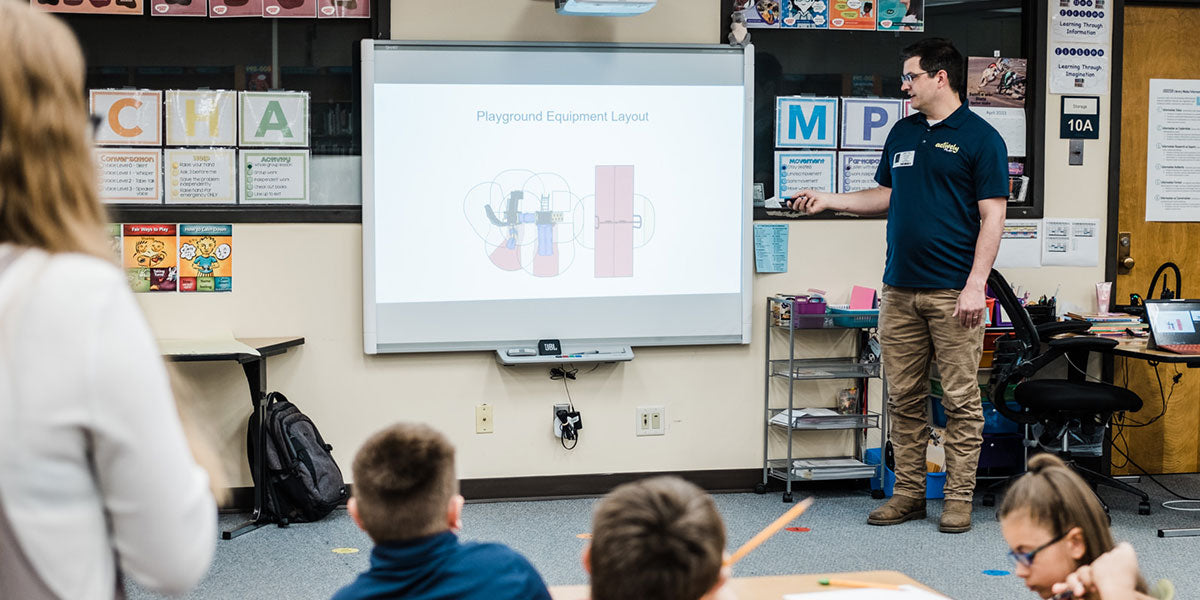
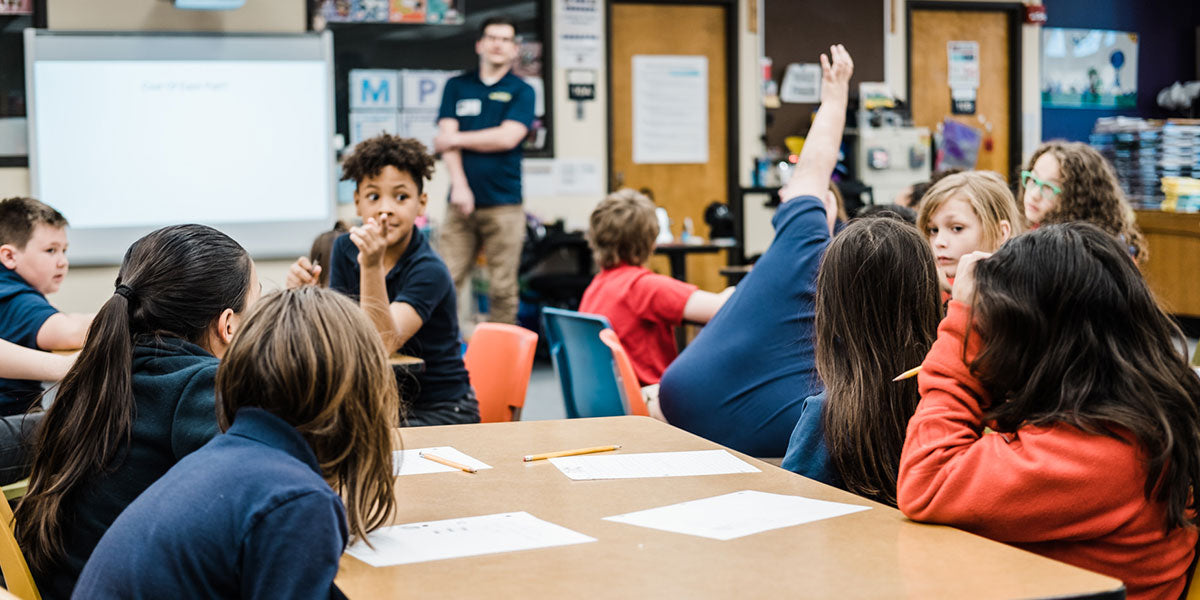
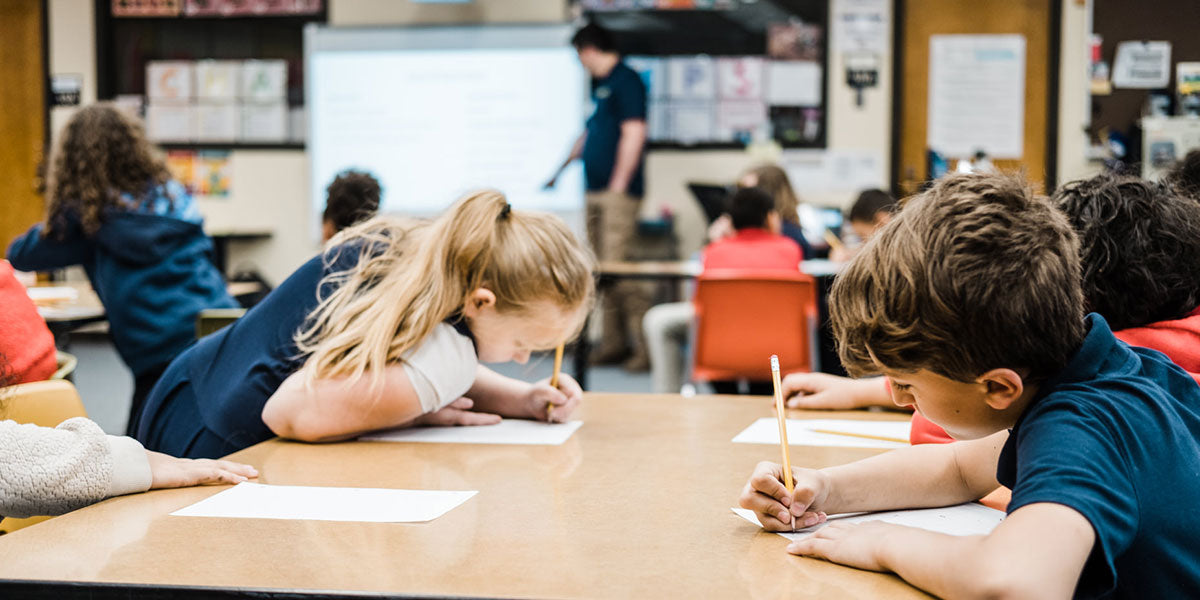
We put together a presentation and walked the class through a playground design from start to finish. To be 100% transparent… I hate giving presentations. Public speaking of any kind is not my thing, but I had a blast with this one. The students were all very sharp and funny and had great questions.
As I was creating a slideshow for the presentation it dawned on me that we could create resources around this idea to make it easier and more accessible for other teachers to do a project like this with their students. So that’s exactly what we did!
Here is a link to the PDF resources we created for teachers: PDF Playground Design Math Project
In the next section, I’ll explain how The Core Project from the PDF works. I’ll also go over Project Expansions that teach additional concepts or make things more challenging.
In the The Core Project students will design a playground using real playground equipment that we as professionals design with everyday. When their playground is designed they will calculate the perimeter and area of the playground.
Disclaimer: Please don’t use any of the information in this blog post or the downloadable resources to design a real playground. This project is intended to be a close approximation of the design process for a real playground, but we are simplifying the process for the project. If you have a real project you’re working on, call us! We would love to help you with that.
The playground that students design will include these elements:
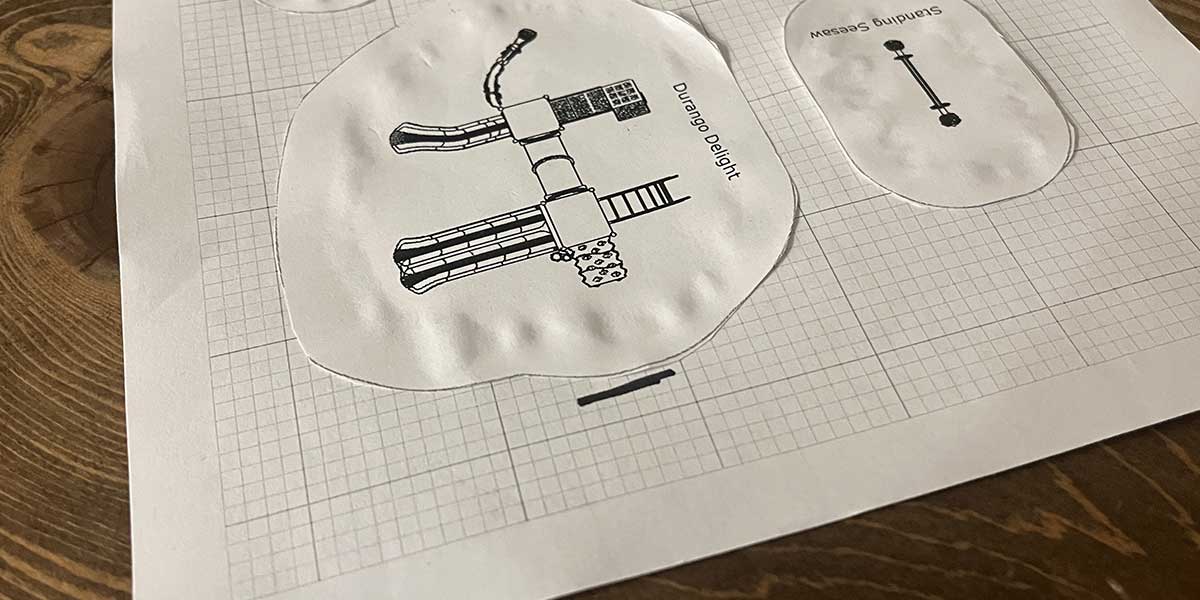
The “Playground Equipment Reference Photos” page shows photos of the equipment that students can choose to include in their playground. It also lists a category, square footage, and cost for each piece of equipment. We won’t use square footage and cost in the Core Project. We’ll pick that up a little bit later. In the PDF there is also a sheet of graph paper and a few pages of playground equipment top views. The top views are scaled to the graph paper allowing students to determine dimensions.

1. First, have students cut out each piece of equipment along the green line. This line represents the “safety zone” of the equipment.
2. Next, students will select the equipment they want to include in their playground. It’s best to choose a variety of equipment from different categories. I recommend a playground with 1 Playground Structure, 1 Swing, 1 Large Freestanding, and 1 Small Freestanding. The categories are listed on the “Playground Equipment Reference Photos” page.
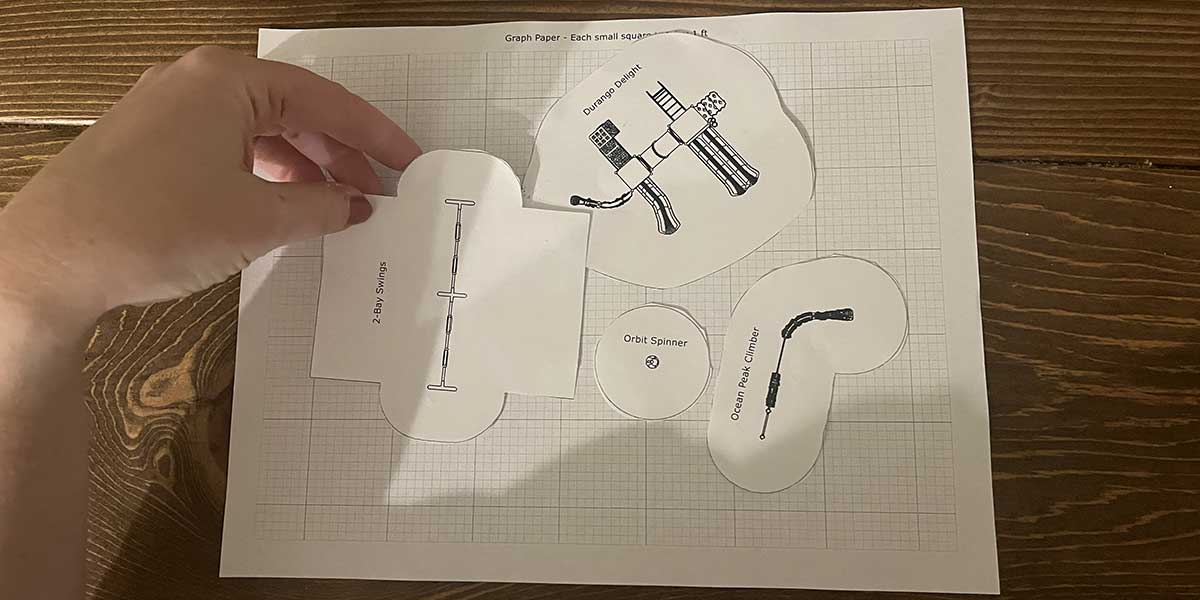
3. With the equipment chosen, students will arrange it on the graph paper to create their playground. Encourage them to try to get the playground equipment to fit together as best they can. The playground should have as little wasted space as possible but the equipment cannot overlap.
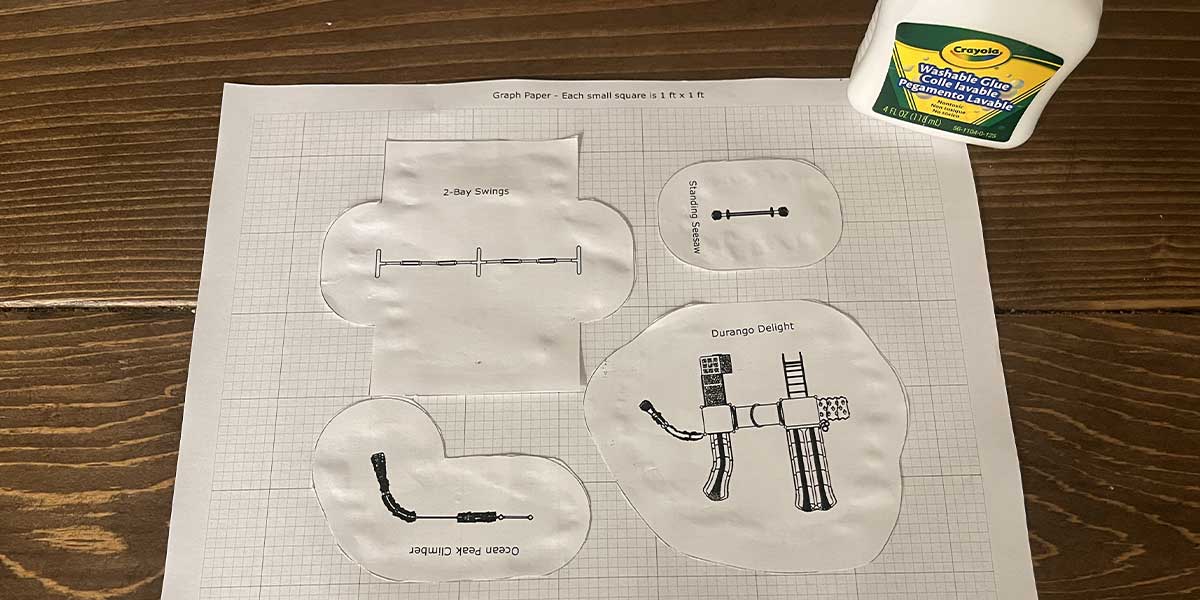
4. Have students glue down the equipment when they’ve decided where to position everything. They need to make sure all the equipment is inside the small squares of the graph paper.
5. Now they can draw the playground border. This is the perimeter around the playground. The easiest way is to mark the furthest edge of the equipment on all four sides.
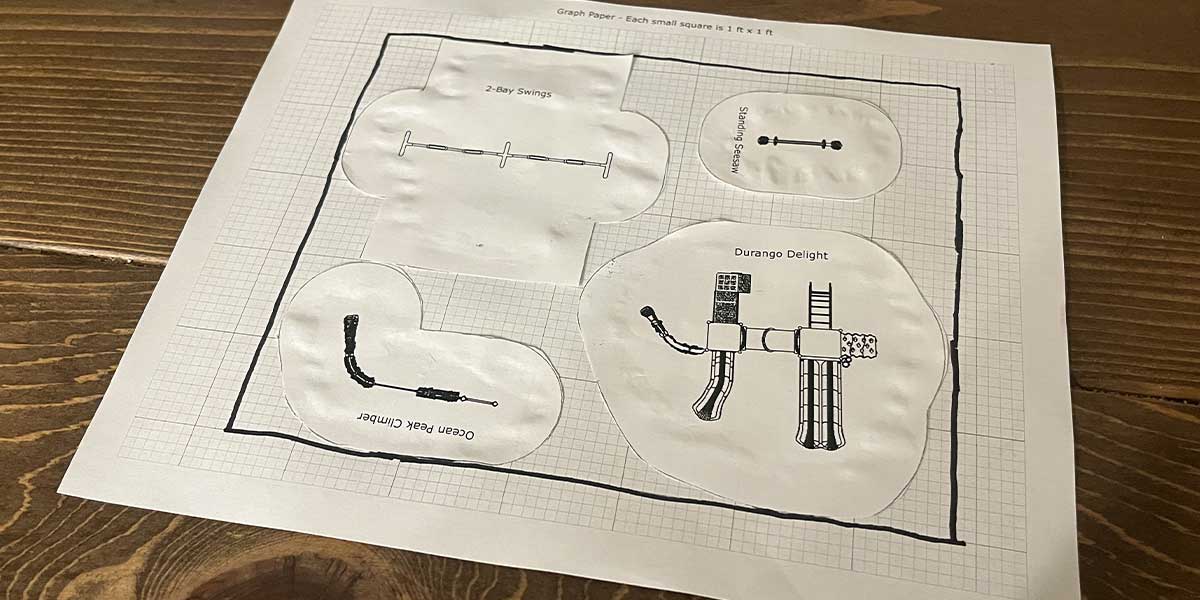
Then use the marks to draw a line to the approximate corner on all four corners to complete the border.
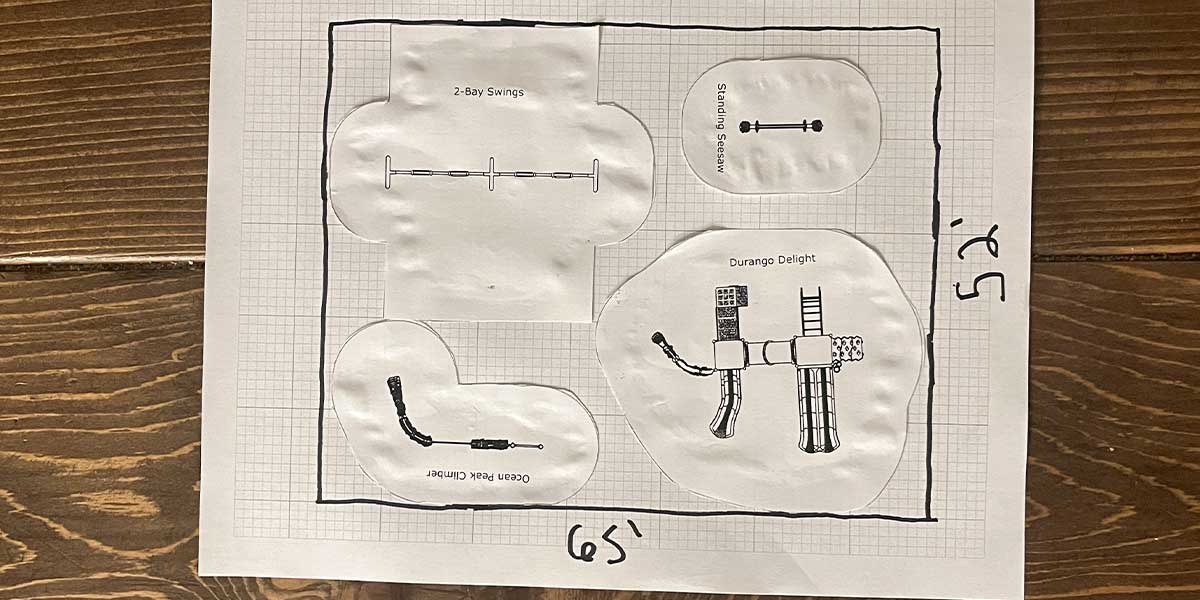
6. Now students can measure each side. The small squares of the graph paper are 1 ft x 1 ft. The large squares are 10 ft x 10 ft. Count the big squares first and then count the remaining small squares to determine the length of each side. The example playground is 65’ x 52’.
7. Next use the dimensions to determine the perimeter and area of the playground. Here is a quick reference below for a rectangle where “L” is length and “W” is width.
If you want to give students an additional challenge, consider these project expansions to exercise their brain cells a bit more:
You can have students determine the volume of mulch to fill the playground. Most playgrounds use 9” to 12” of wood mulch.
Volume is L (length) x W(width) x H(height). Here is how you would figure the volume in cubic feet for each of these depths.
Most wood mulch is priced by the cubic yard. To convert cubic feet to cubic yards, you can just divide by 27.
Students can estimate the cost of the playground they have designed. To do this they will need to know the perimeter of their playground and volume of mulch from the “Volume” section above.
The cost of the playground will include these three line items:
Playground Equipment Cost: To figure the playground equipment cost, take a look at the “Playground Equipment Reference” sheet. Each piece of equipment has a cost associated with it. Simply add together the cost of equipment in the playground.
Border Cost: First students will need the perimeter of the playground in feet. This figure is also referred to as “linear feet”. In our example above the playground will require 234 linear feet of border. $10 per linear foot is a good figure to use for estimating the cost of borders. Multiply the cost per linear foot x the total linear feet of border. For example, 234 linear feet x $10 = $2,340.
Mulch Cost: To figure the mulch cost, students will need to know the volume of mulch required for their playground. Check out the “Volume” section above for instructions on this. We’ll figure this based on a 12” mulch depth for our example playground. For that depth, the playground will require 125 cubic yards of mulch. $50 per cubic yard is a good figure to use for estimating the cost of playground mulch. Multiply the cost per cubic foot x the total cubic yards of mulch. 125 cubic yards x $50 = $6,250.
Helpful Estimating Figures
One of the primary goals of a playground designer is to create an efficient playground. This means that the playground equipment safety zones are close together with the least amount of wasted space possible. (This means that the playground is as fun as it can be per square foot!)
To determine how efficient a playground is, you need to figure out how much space in the playground is used for the equipment safety zone compared to the total square footage.
Take a look at the “Playground Equipment Reference” sheet. For each piece of equipment there is a "sq ft” number. This is the total square footage of the equipment and safety zone for that piece of equipment.
To figure the efficiency, add the square footage of each piece of equipment. For our example the total is 2,375 sq ft. Then divide that number by the total area of the whole playground. For this example, we'll use a total area of 3,380 sq ft.
2,375 sq ft / 3,380 sq ft = 0.70
0.70 is our efficiency number. This means that 70% of our playground is being directly utilized by playground equipment. Not bad! See who has the most efficient playground in the class.
Instead of a square or rectangle playground, you could encourage students to create an irregular shape like an “L” shape or something like that. To determine the perimeter and area of a shape like that, it will need to be broken down into smaller shapes that they can do the math on like multiple squares, rectangles, and right triangles.
Check out this resource on determining the area of odd shaped playgrounds.
That’s it! We hope your students have a blast designing a playground and learning math along the way. We would love to see playgrounds that your students have designed! Please email them to us. It will make our day! Also, if there is a certain piece of playground equipment that you’d really like to have for your students to include, let us know and we’ll do what we can to get a scaled top view to you.
If you want to get super crazy, you could let your students design the next playground at your school and base the real playground design off of the winning student design.